DIY Outdoor Garden Faucet Repair: A Step-by-Step Guide
Maintaining your outdoor garden faucet in optimal condition is essential for ensuring efficient water usage and preventing wastage. Over time, these faucets may develop leaks, drips, or other issues that require timely repair. Instead of calling a plumber for every minor issue, you can save time and money by learning how to perform DIY repairs yourself. In this comprehensive guide, we'll walk you through the step-by-step process of repairing your outdoor garden faucet, empowering you to tackle common problems with confidence.

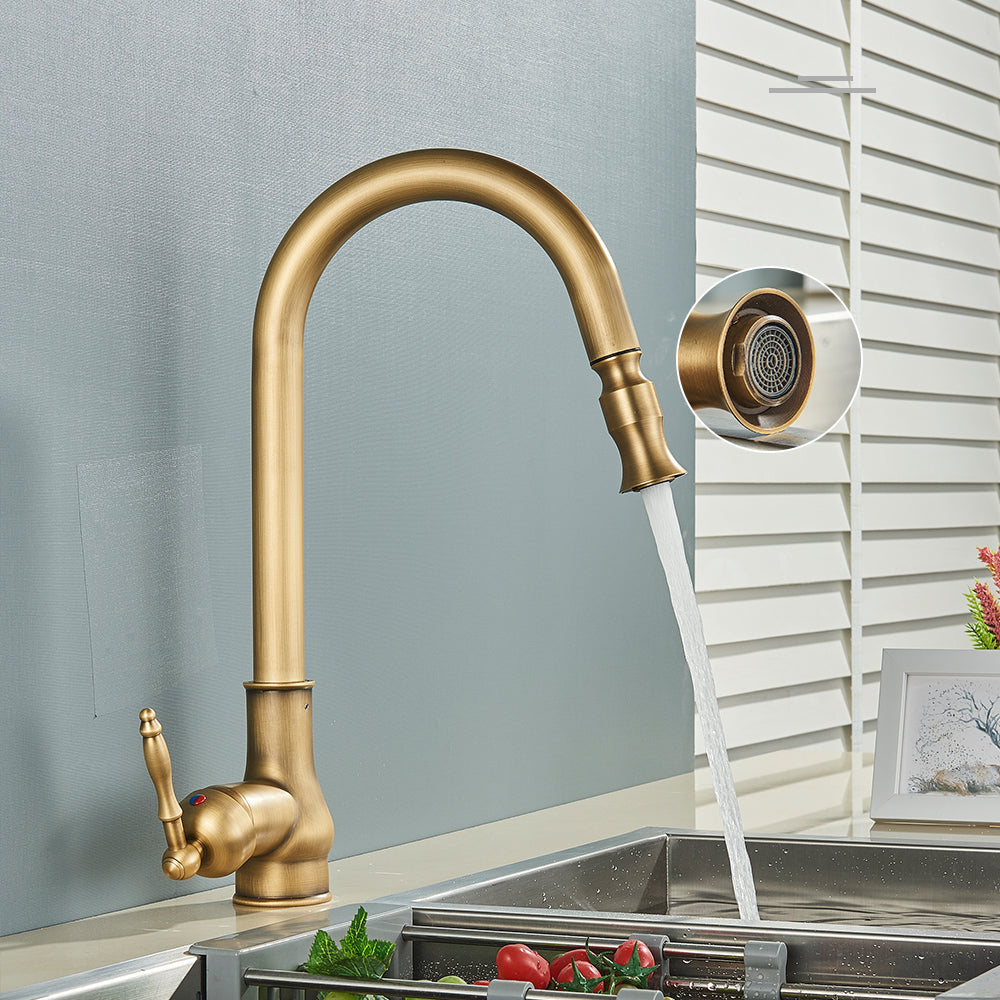
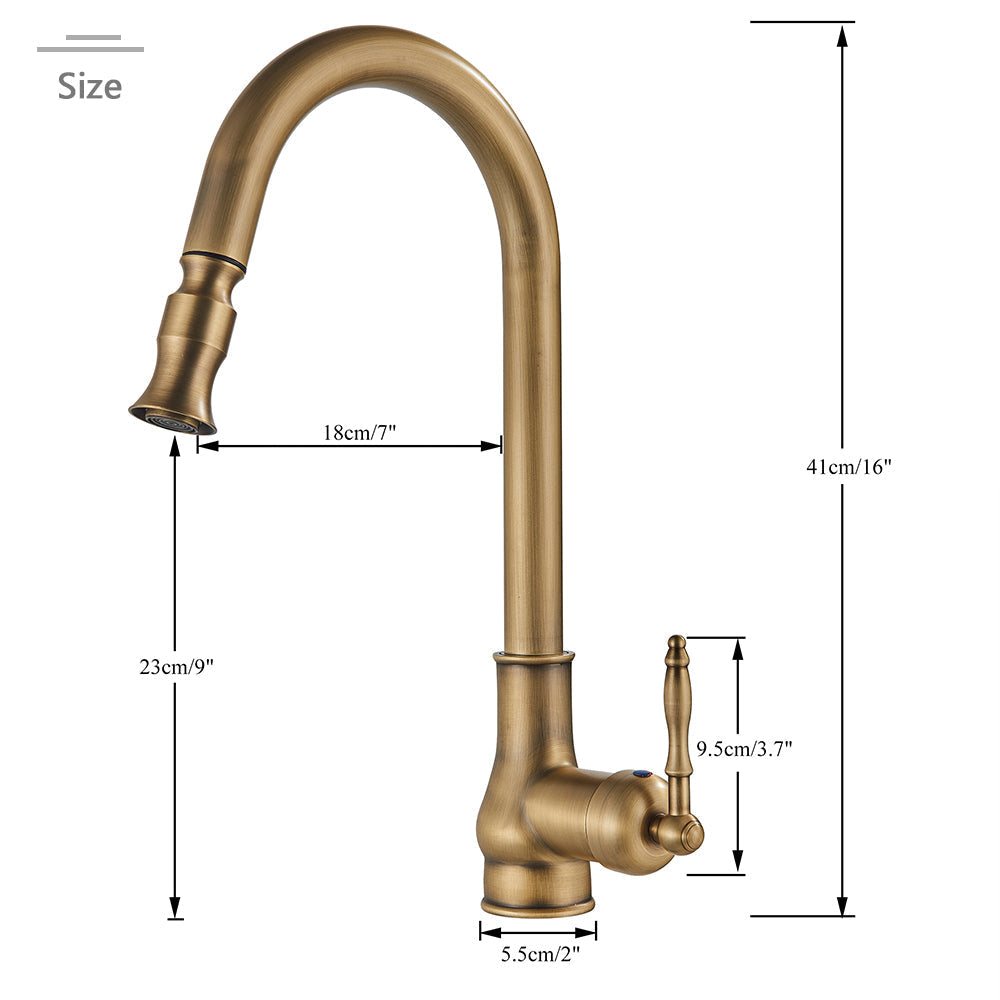
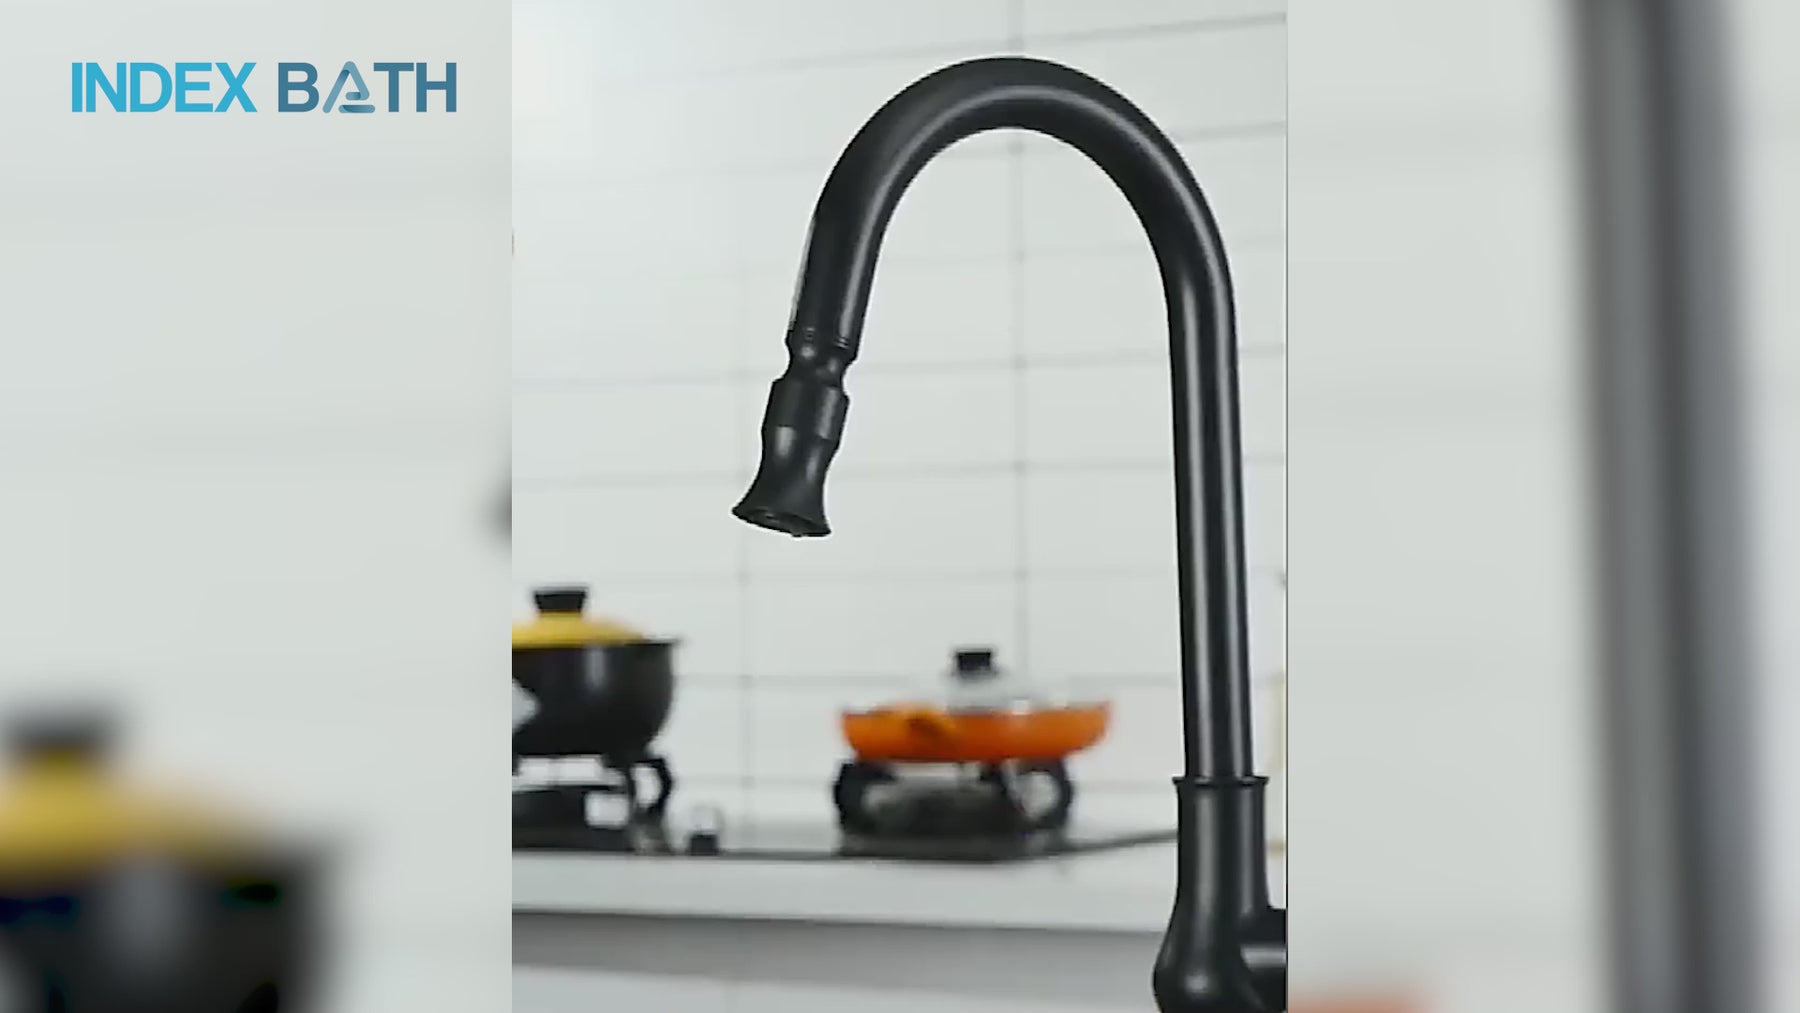
Fixing outdoor garden faucet issues at home
Step 1: Identify the Problem
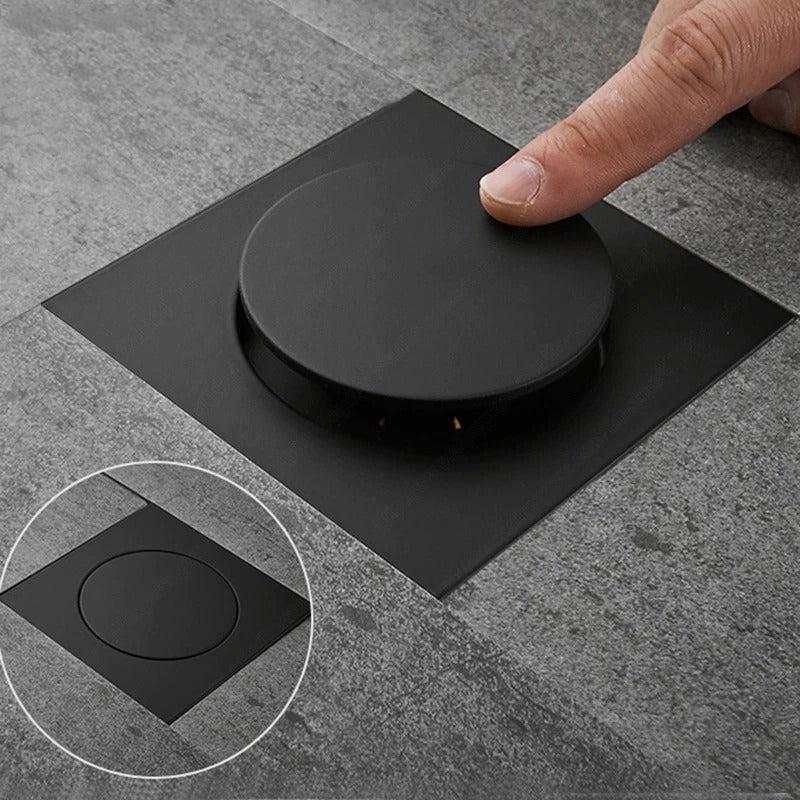
Before you begin any repair work, carefully examine your outdoor garden faucet to determine the nature of the issue. Common problems include leaks around the faucet handle, dripping from the spout, or difficulty in turning the handle.
Step 2: Gather Tools and Materials
To carry out the repair, you'll need a few basic tools and materials:
- Adjustable wrench
- Screwdriver (Phillips or flat-head, depending on your faucet)
- Replacement parts (such as washers, O-rings, or faucet handles)
- Plumbers tape (Teflon tape)
Step 3: Shut Off Water Supply
Locate the shutoff valve for your outdoor faucet and turn it off to prevent water flow during the repair process. This valve is typically located inside your home, near where the outdoor faucet connects to the plumbing system.
Step 4: Disassemble the Faucet
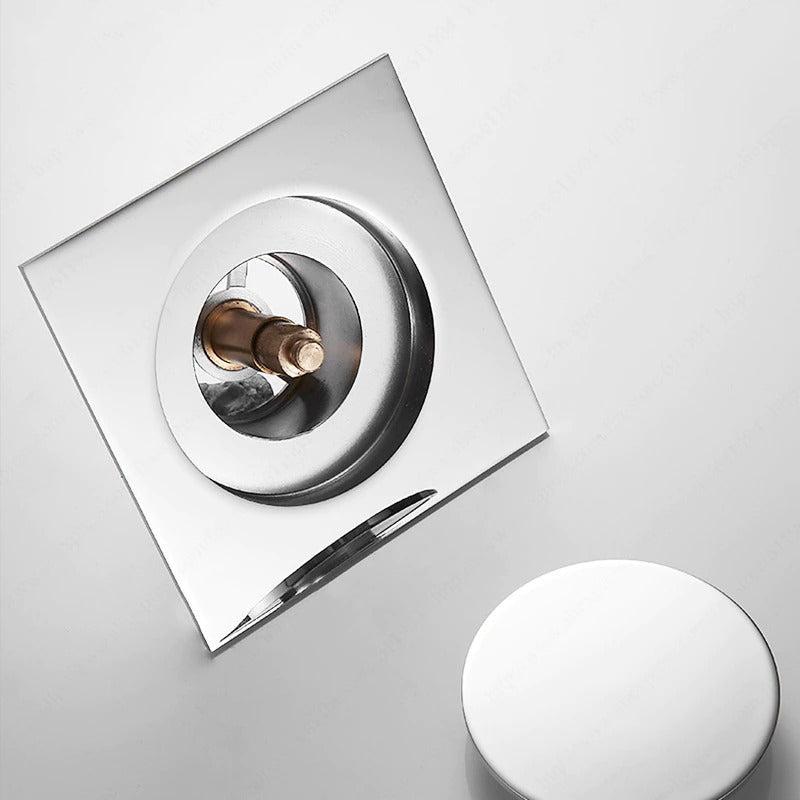
Using your wrench and screwdriver, carefully disassemble the faucet by removing the handle and any other components necessary to access the internal mechanism. Take note of the order in which the parts are removed to aid in reassembly later.
Step 5: Inspect and Clean Components
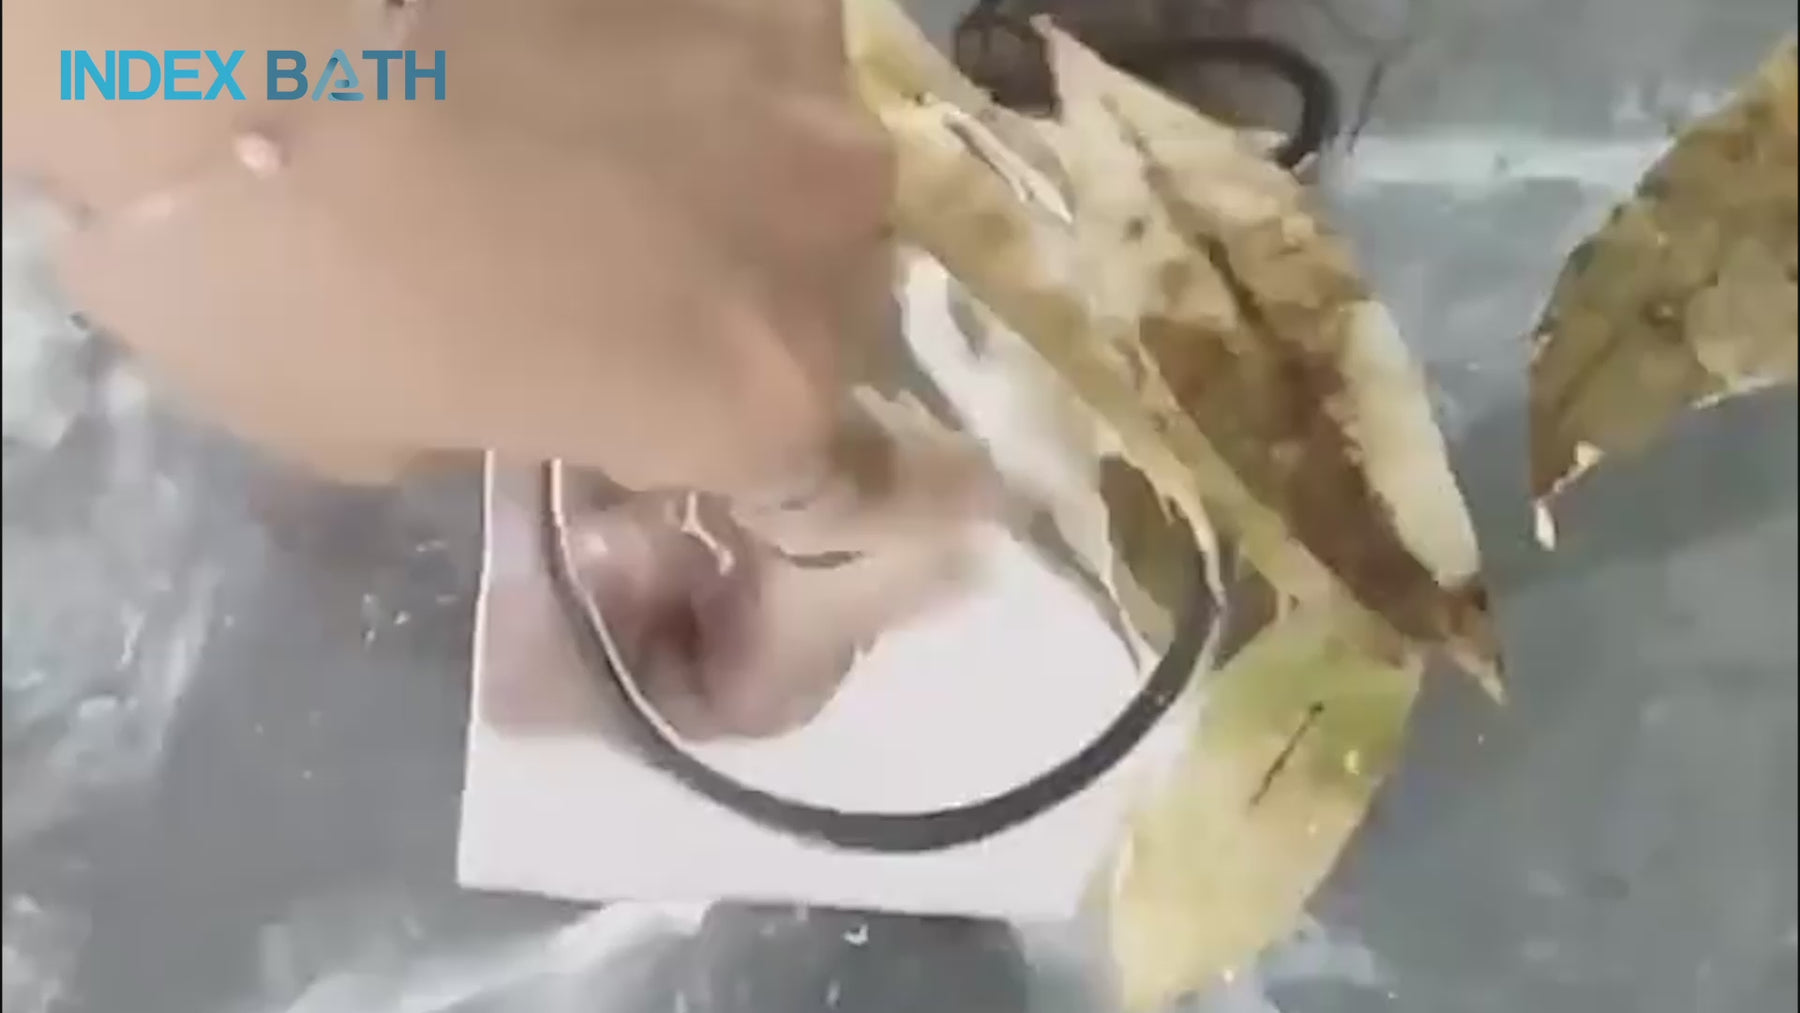
Examine the internal components of the faucet for signs of wear, corrosion, or damage. Clean any debris or mineral buildup that may be affecting the faucet's performance. Replace any worn or damaged parts with new ones.
Step 6: Replace Seals and Washers
If the leak or drip persists after cleaning, it may be necessary to replace the seals, washers, or O-rings inside the faucet. Carefully remove the old components and install the new ones according to the manufacturer's instructions.
Step 7: Reassemble the Faucet
Once you've completed the necessary repairs or replacements, reassemble the faucet in the reverse order of disassembly. Make sure all components are securely tightened to prevent future leaks.
Step 8: Test the Faucet
Turn the water supply back on and test the faucet to ensure that the repair was successful. Check for leaks, drips, or any other issues. If everything looks good, pat yourself on the back for a job well done!

FAQs:
Q: How do I know if I need to replace the entire faucet? A: If your faucet is severely corroded, damaged beyond repair, or outdated, it may be more cost-effective to replace the entire unit rather than attempting repairs.
Q: What should I do if I encounter unexpected difficulties during the repair process? A: If you're unsure how to proceed or encounter unexpected challenges, don't hesitate to seek advice from a professional plumber or refer to online tutorials and guides for additional assistance.

Conclusion:
With the right tools, materials, and know-how, repairing your outdoor garden faucet can be a straightforward DIY task. By following this step-by-step guide and troubleshooting common issues, you can save both time and money while ensuring that your faucet operates smoothly for years to come. Remember, regular maintenance and prompt repairs are key to preventing costly water leaks and preserving this essential household fixture.